Welcome AI students!
This lab is designed to let students get some hands-on experience in robot motion planning. It is not necessarily so hard to create a program to simulate robot motion, but actually testing the robot in the real world can often prove to be very difficult.
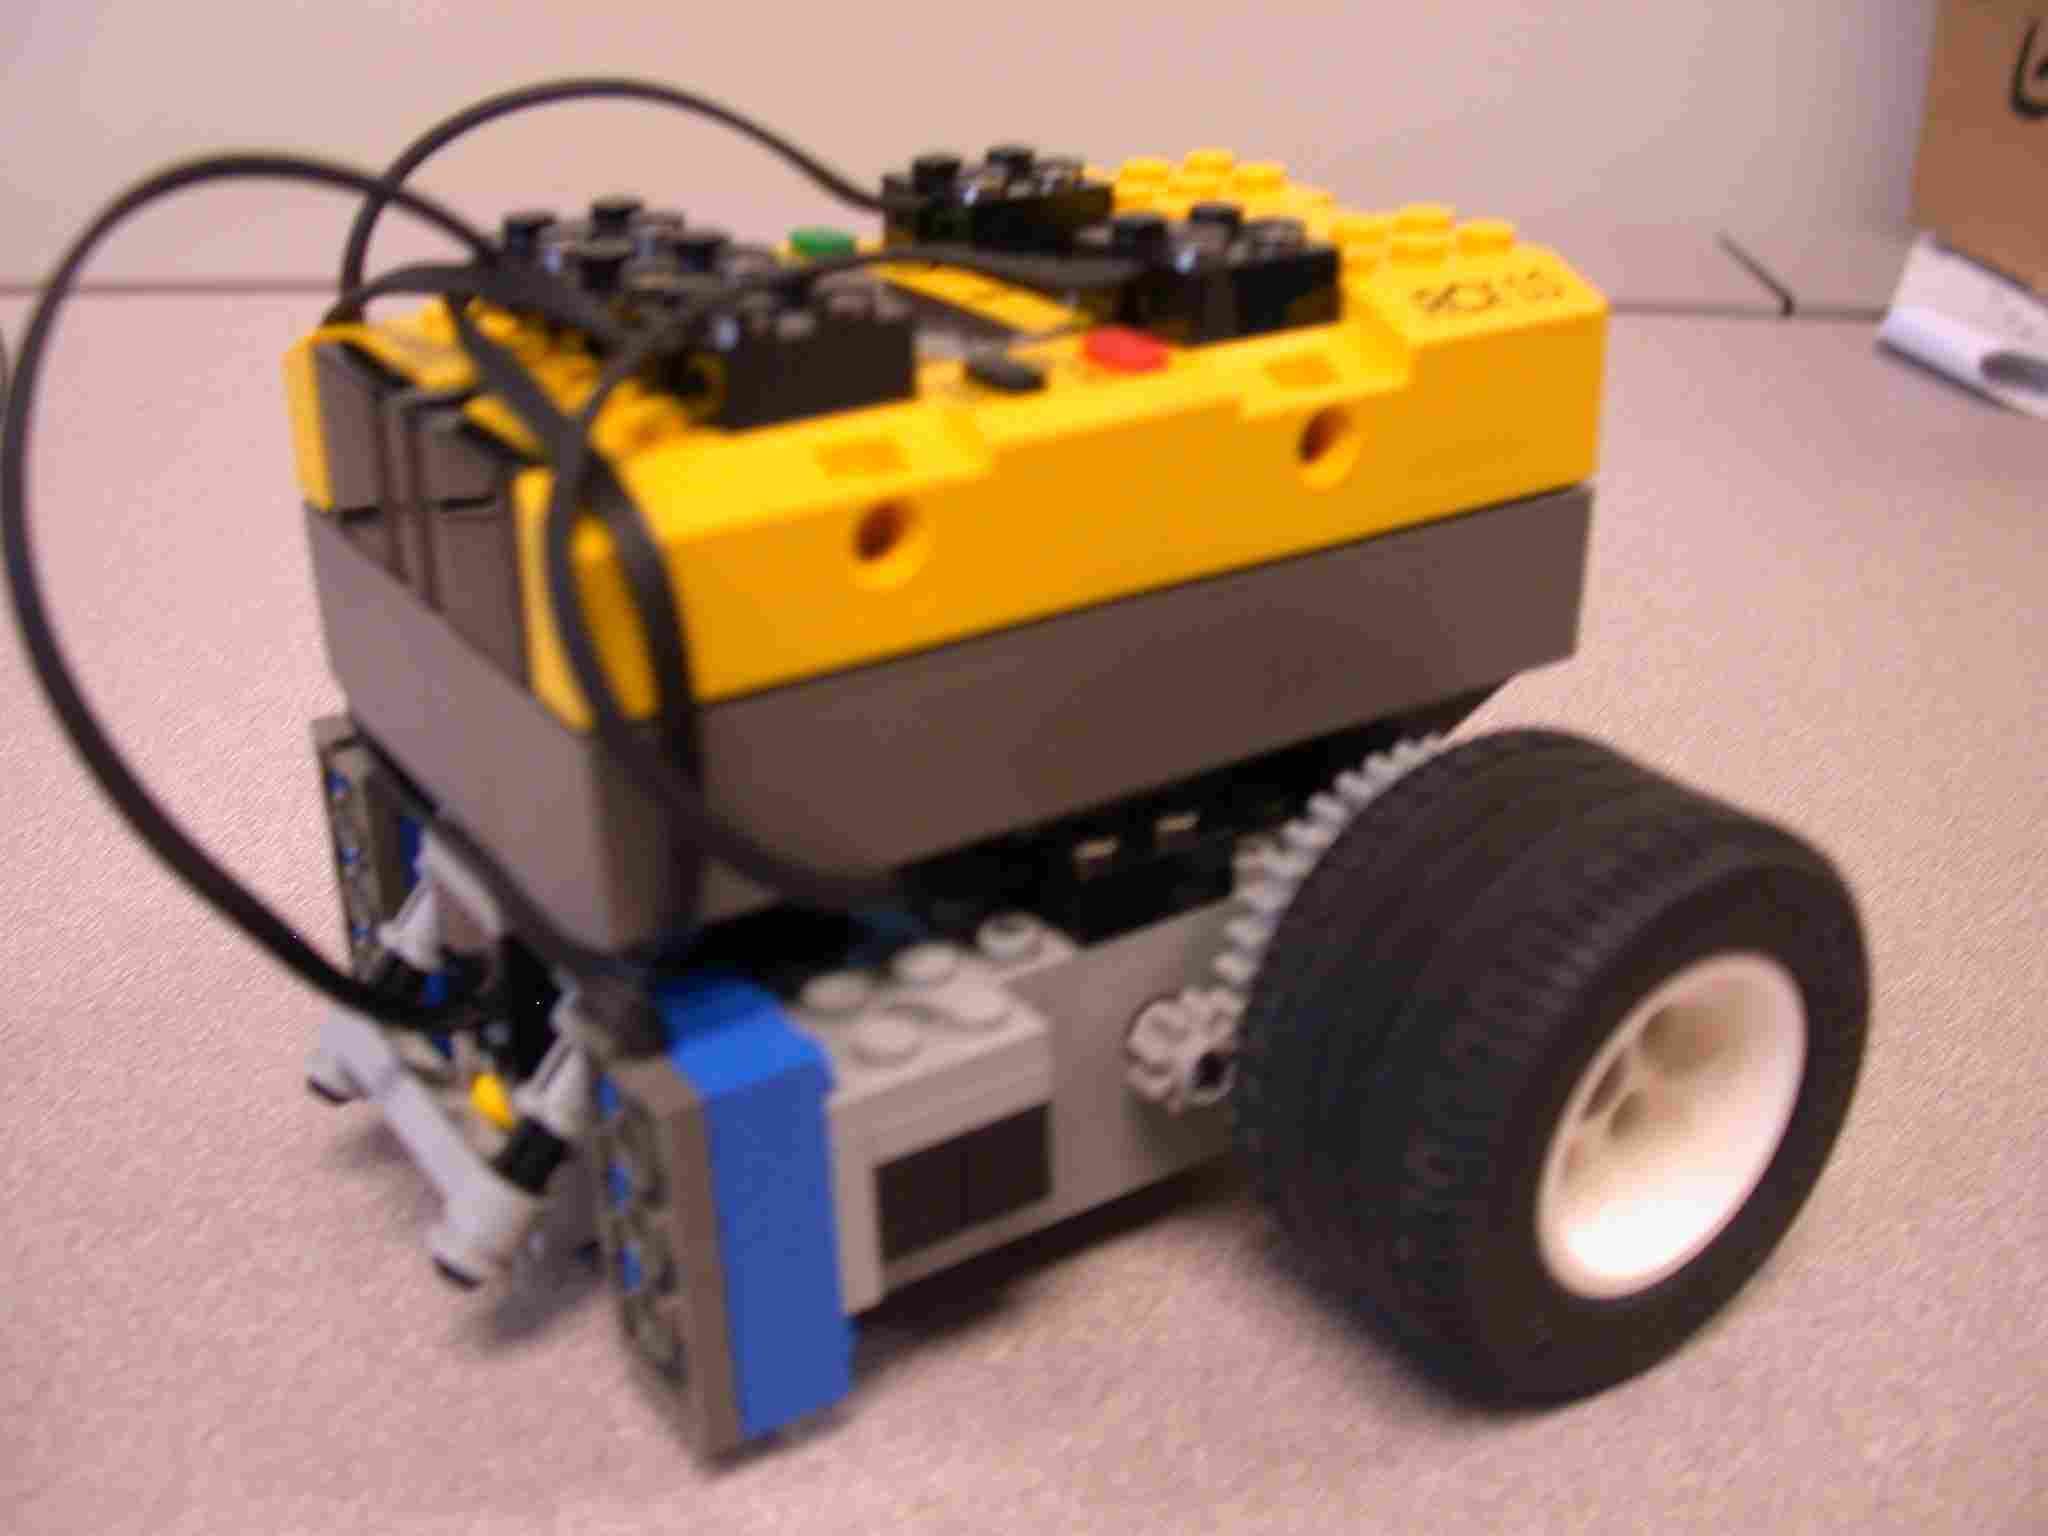
You will be using LEGO MindStorms sets stored in room 307, and the computers in room 304. The grids and associated paper sheets that you will use are also stored in room 307, as are the batteries and chargers. You'll find some direct power cords for the robots in 304 which are useful when first learning how to program them, but the power cords aren't very useful when actually getting the robots to run around the grids.
Boot any of the computers in room 304 into Windows.
Log in and download these files:
Calibration program
VacuumBot java file
Example agent
Go to the start menu and select "Run..." in the text field type "command" and click ok. You should now have opened a command window.
In your command window, go to the directory where you will be working with your program. This should be a subdirectory located in your home folder. If you've never used the Windows XP command-line before, and want some help, try this slightly-out-of-date-yet-useful help file on DOS.
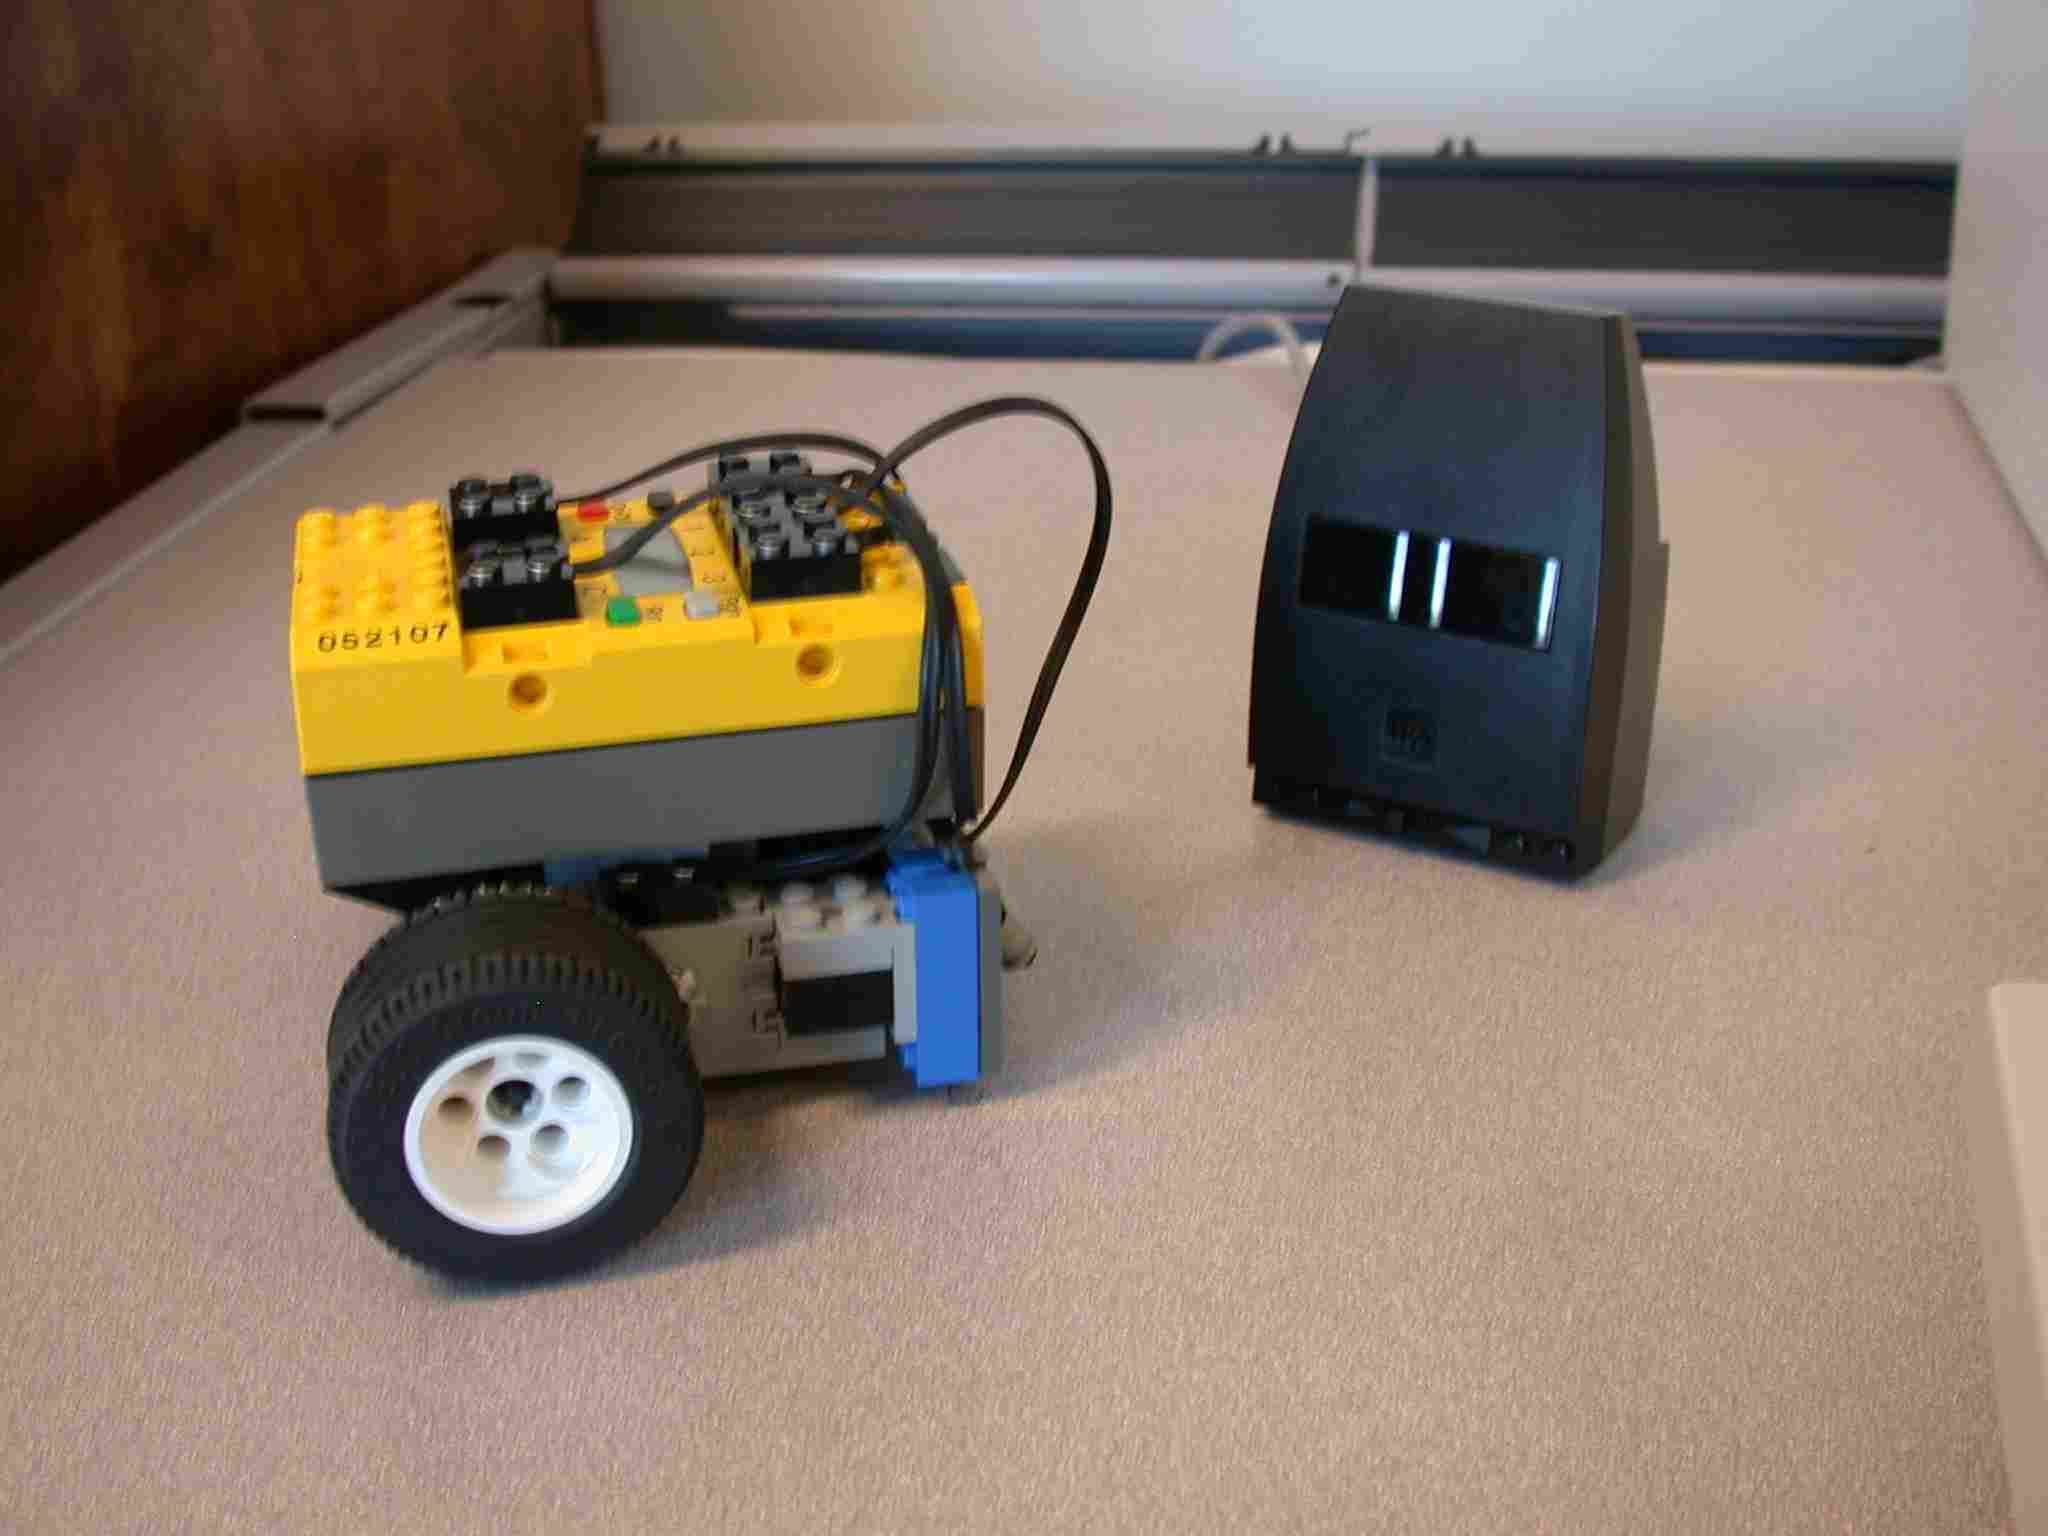
First, familiarize yourself with how the leJOS software communicates with the LEGO robots. Place the robot so that its infrared receiver is facing the LEGO transmitter. Place the transmitter on a book so that it is about the same height as the infrared receiver on the robot.
Turn on the LEGO robot. Then in the command window, type the command
lejosfirmdl.exe
You should hear a double-beep from the LEGO robot and its LCD screen will begin counting up from 0. What you are doing is downloading the Java firmware to the LEGO robot. This action actually only needs to be performed once per robot, but doing it will help you see how the computer and LEGO robot actually communicate with each other. Don't worry if it takes a long time, the firmware is big. You should never need to do this again, unless you think someone has downloaded firmware for a different programming langauge (other than leJOS) onto the robot.
Once the firmware is downloaded, you can begin downloading java programs for the LEGO bot to run. Try Calibration.java first. To compile it, type:
lejosc -source 1.2 Calibration.java
Note that lejosc is the equivalent of javac.
Make sure that the LEGO brick is on and pointing at the transmitter, then type:lejos Calibration
Both the screen and the LEGO brick will give updates as to the progress of the transmission. When it is done, the brick will double-beep. Now press the "run" button on the brick. The LCD screen will be continuously updating a number that will probably be somewhere around 725. Try pressing some of the other buttons, but not the "on/off" button. Pressing the "on/off" button while running a program will turn off the brick. Remember this, as you will definitely need to stop your robot from going haywire once in a while. Open up Calibration.java in your favorite text editor, and see what it does. It will be useful because not all LEGO light sensors are created equal. You may want to consider keeping track of some of the numbers that your robot reports back while using this program.
Downloading a new program to the brick will erase the old one. If you wish to put multiple programs on the brick, you can do so as in the following:
lejos Program1,Program2,...
You can then use the Prgm button to choose which program you wish to run.
There are three percepts that the robot knows: atHome(), hitBump() and onDirt(). These percepts are implemented in the form of members that return boolean values.
atHome() returns true if the robot is in its home location. Home is signified by a green piece of paper on the grid.There are five commands that the robot will accept: moveForward(), turnLeft(),turnRight(), suck() and shutdown().
moveForward() moves the robot forward until one of the light sensors passes over a black line. Then, using the other light sensor, it attempts to align itself so that it is facing perpendicular to the black line. It then moves forward for a brief amount of time. If, during any of this time, the touch sensor is triggered, the robot will stop and back up.To help get you started, I've already written a simple agent, Agent.java, which is linked to above. Compiling Agent.java is similar to compiling Calibration.java, but you need to compile it with VacuumBot.java, because it makes use of the class and member functions contained in VacuumBot.java. To do this, compile both java files at the same time:
K:\AISTUFF>lejosc Agent.java VacuumBot.java
Then send it to the LEGO brick:
K:\AISTUFF>lejos Agent
Now place the agent on the home square on one of the maps. Press
the run button and watch what it does. It should run along one of the sides
until it hits a wall, then turn around and come back, running the suck()
function whenever it is over dirt. If it doesn't, you may need to change
some of the final ints in VacuumBot.java to reflect more accurately what
the sensors' values are and how long it takes to turn ninety degrees. This
is what Calibration.java will be useful for.
To calibrate the robot:
While you are working, remember that the sensors are sometimes touchy, and can lead you to frustrating results. Try to minimize the number of variables that you're working with - always use the same robot, try and keep the lighting in the room the same, (I always turn all the lights on and close both of the blinds), remember that battery power may affect the robot's speed and therefore the turning delay will be an issue.
It's perfectly OK to give your robot a bump with your hands to help it do what you know it's trying to do.
Reimplement the agent with internal state that you did during the vacuum world simulator assignment.