You may work with a partner of your choosing or alone. If you want to be assigned a partner, send me a private Slack message.
Goals
- Practice developing simple algorithms based on a common theme (i.e. loop through all the pixels).
- Have some fun messing with photographs pixel by pixel.
The project
If you have ever used image-manipulating software (e.g. Adobe Photoshop, Affinity Photo, etc.), you know that you can do lots of crazy things to digitized images. Some of the games you can play involve very complex mathematics, but others are pretty easy. For example, turning a color image into a black-and-white image is simple: for each pixel, take the average of the pixel's red, green, and blue values, and use that average as the new red, green, and blue values for the pixel.
There is a nice image-manipulation library for Python known as the Python Imaging Library, or PIL. You will use PIL to implement a few interesting image transformations.
More specifically, for this assignment, you will implement the functions whose interfaces are specified in images.py.
Where to start
The images.py file has two sample functions already written: get_green_image and get_small_image. If you executed this code:


With a simple modification of the code in get_green_image, you can write get_black_and_white_image. The idea here is to replace the red, green, and blue values of a given pixel with the average of the original red, green and blue values at that pixel. For example, if a pixel has the color values (100, 80, 30), you would replace that pixel with (70, 70, 70).
Similarly, the get_rotated_image function (whose job is to rotate the image clockwise by 90 degrees) is not too hard, but it does require you to create a new image with different dimensions than the original. For example, if the original image has image.size equal to (1000, 750), then the new image would need to have image.size equal to (750, 1000). See the code in get_small_image for an example of how to create a new image with specified dimensions.
Basic and Advanced assignments
To be eligible for a score of 15 out of 20 points, you need to implement all the functions labeled REQUIRED. To be eligible for 18 of 20, implement all the REQUIRED functions and at least two of the OPTIONAL functions. And to be eligible for 20 of 20, implement all of the functions.
REQUIRED functions
- get_black_and_white_image makes a black-and-white version of the image using the color averaging technique described above
- get_mirror_image makes a horizontal mirror image of the image
- get_rotated_image produces a copy of the image, rotated clockwise by 90 degrees
- get_bordered_image produces a copy of the image with a frame around it of a given color and thickness
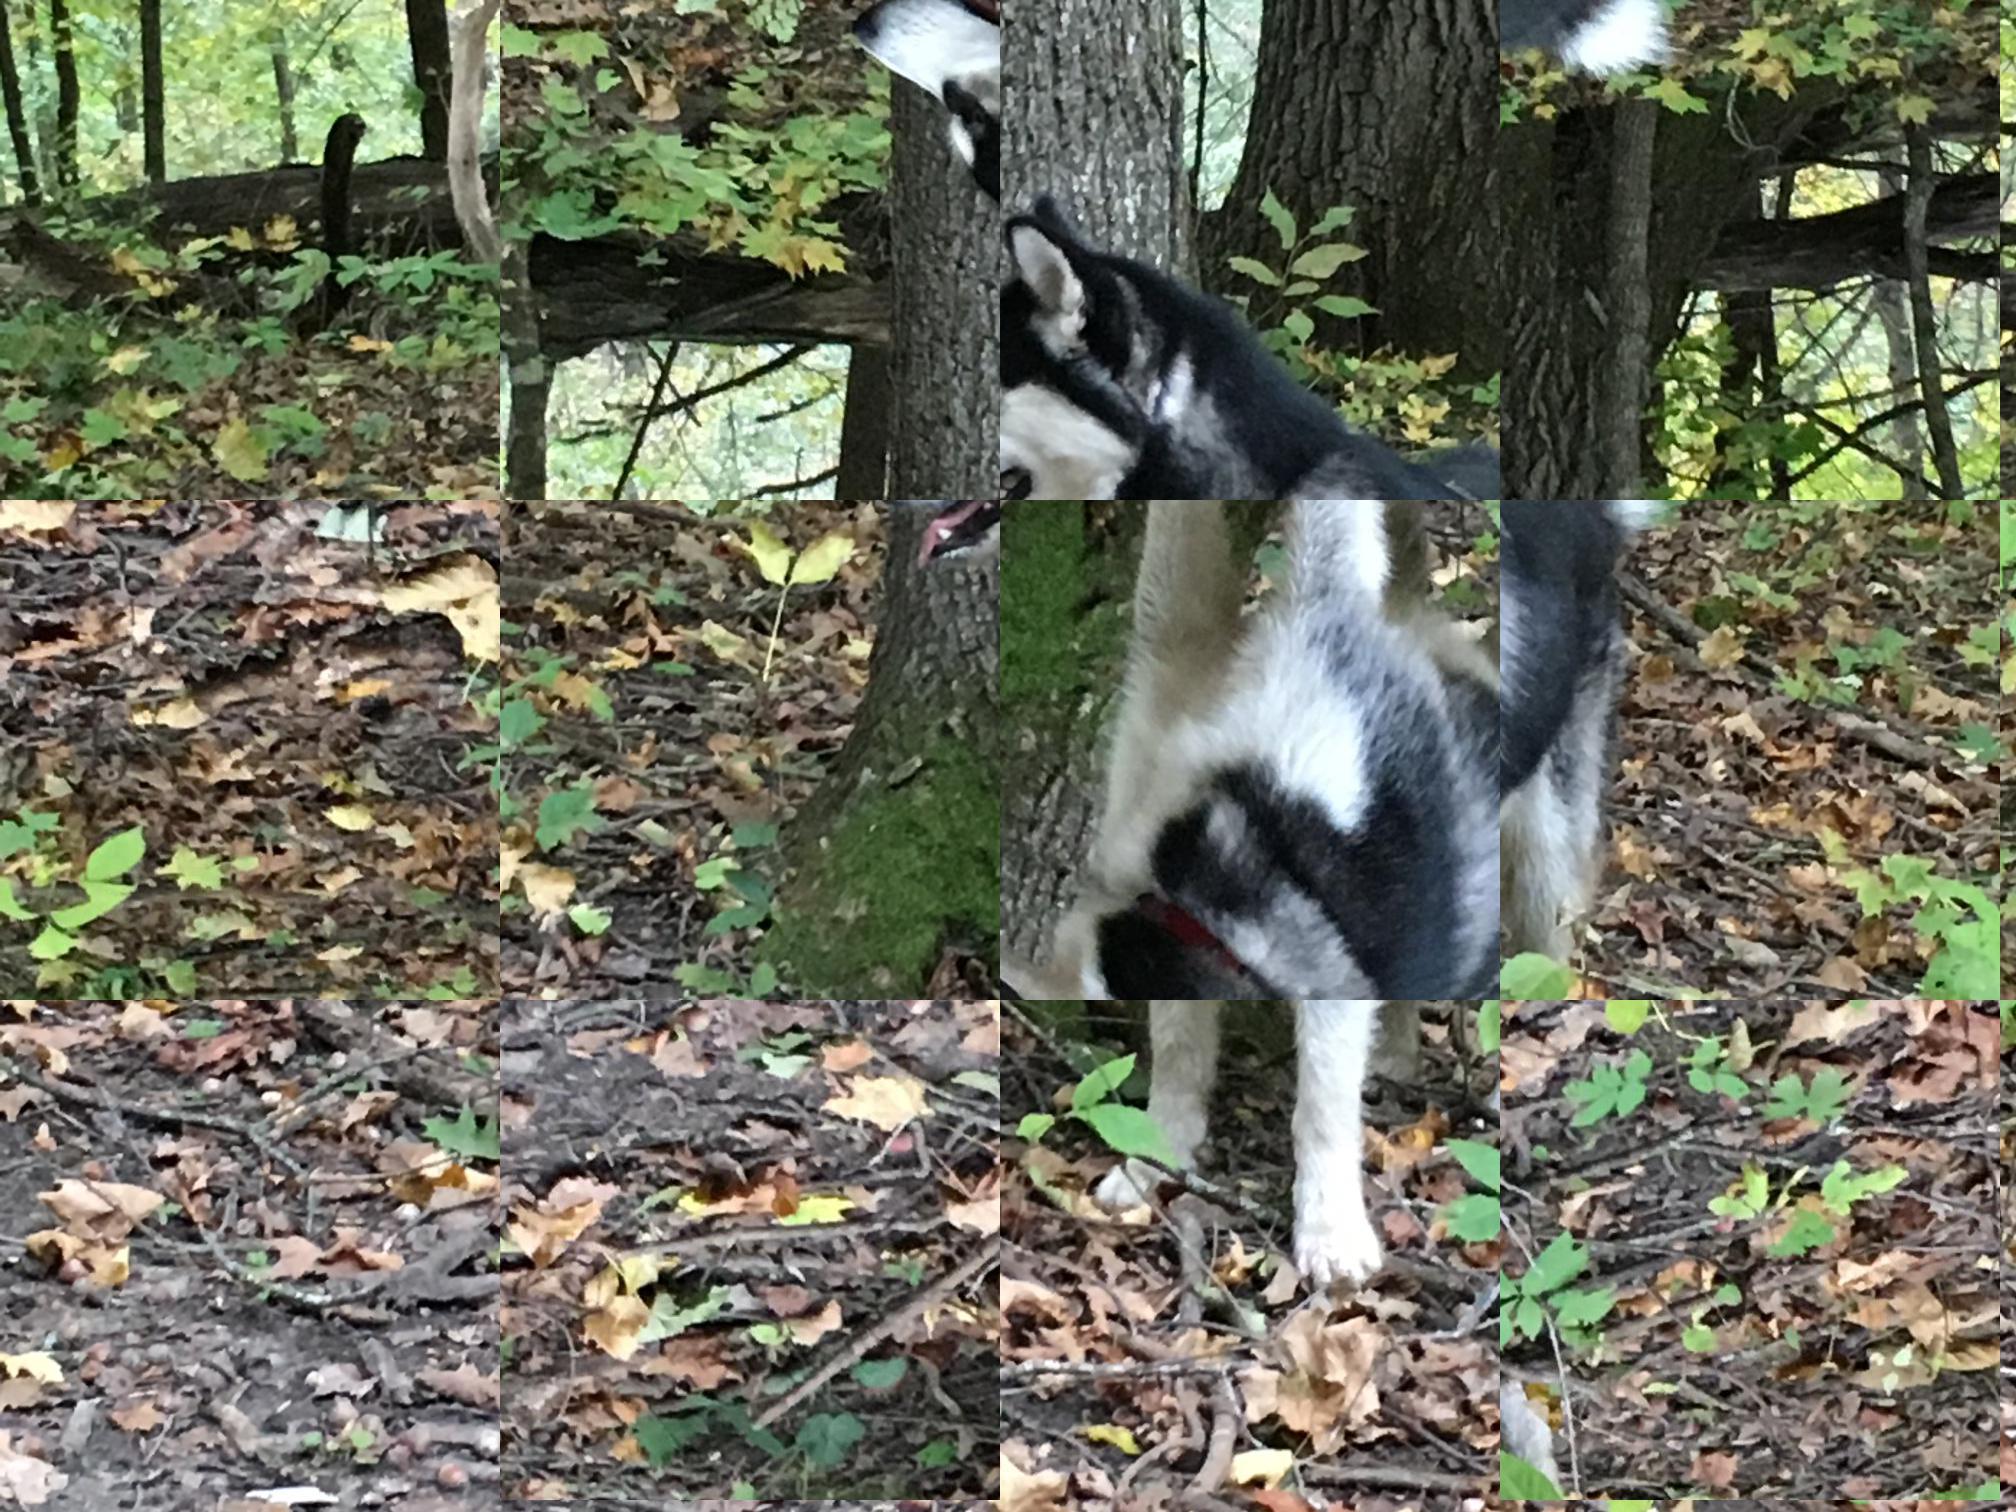
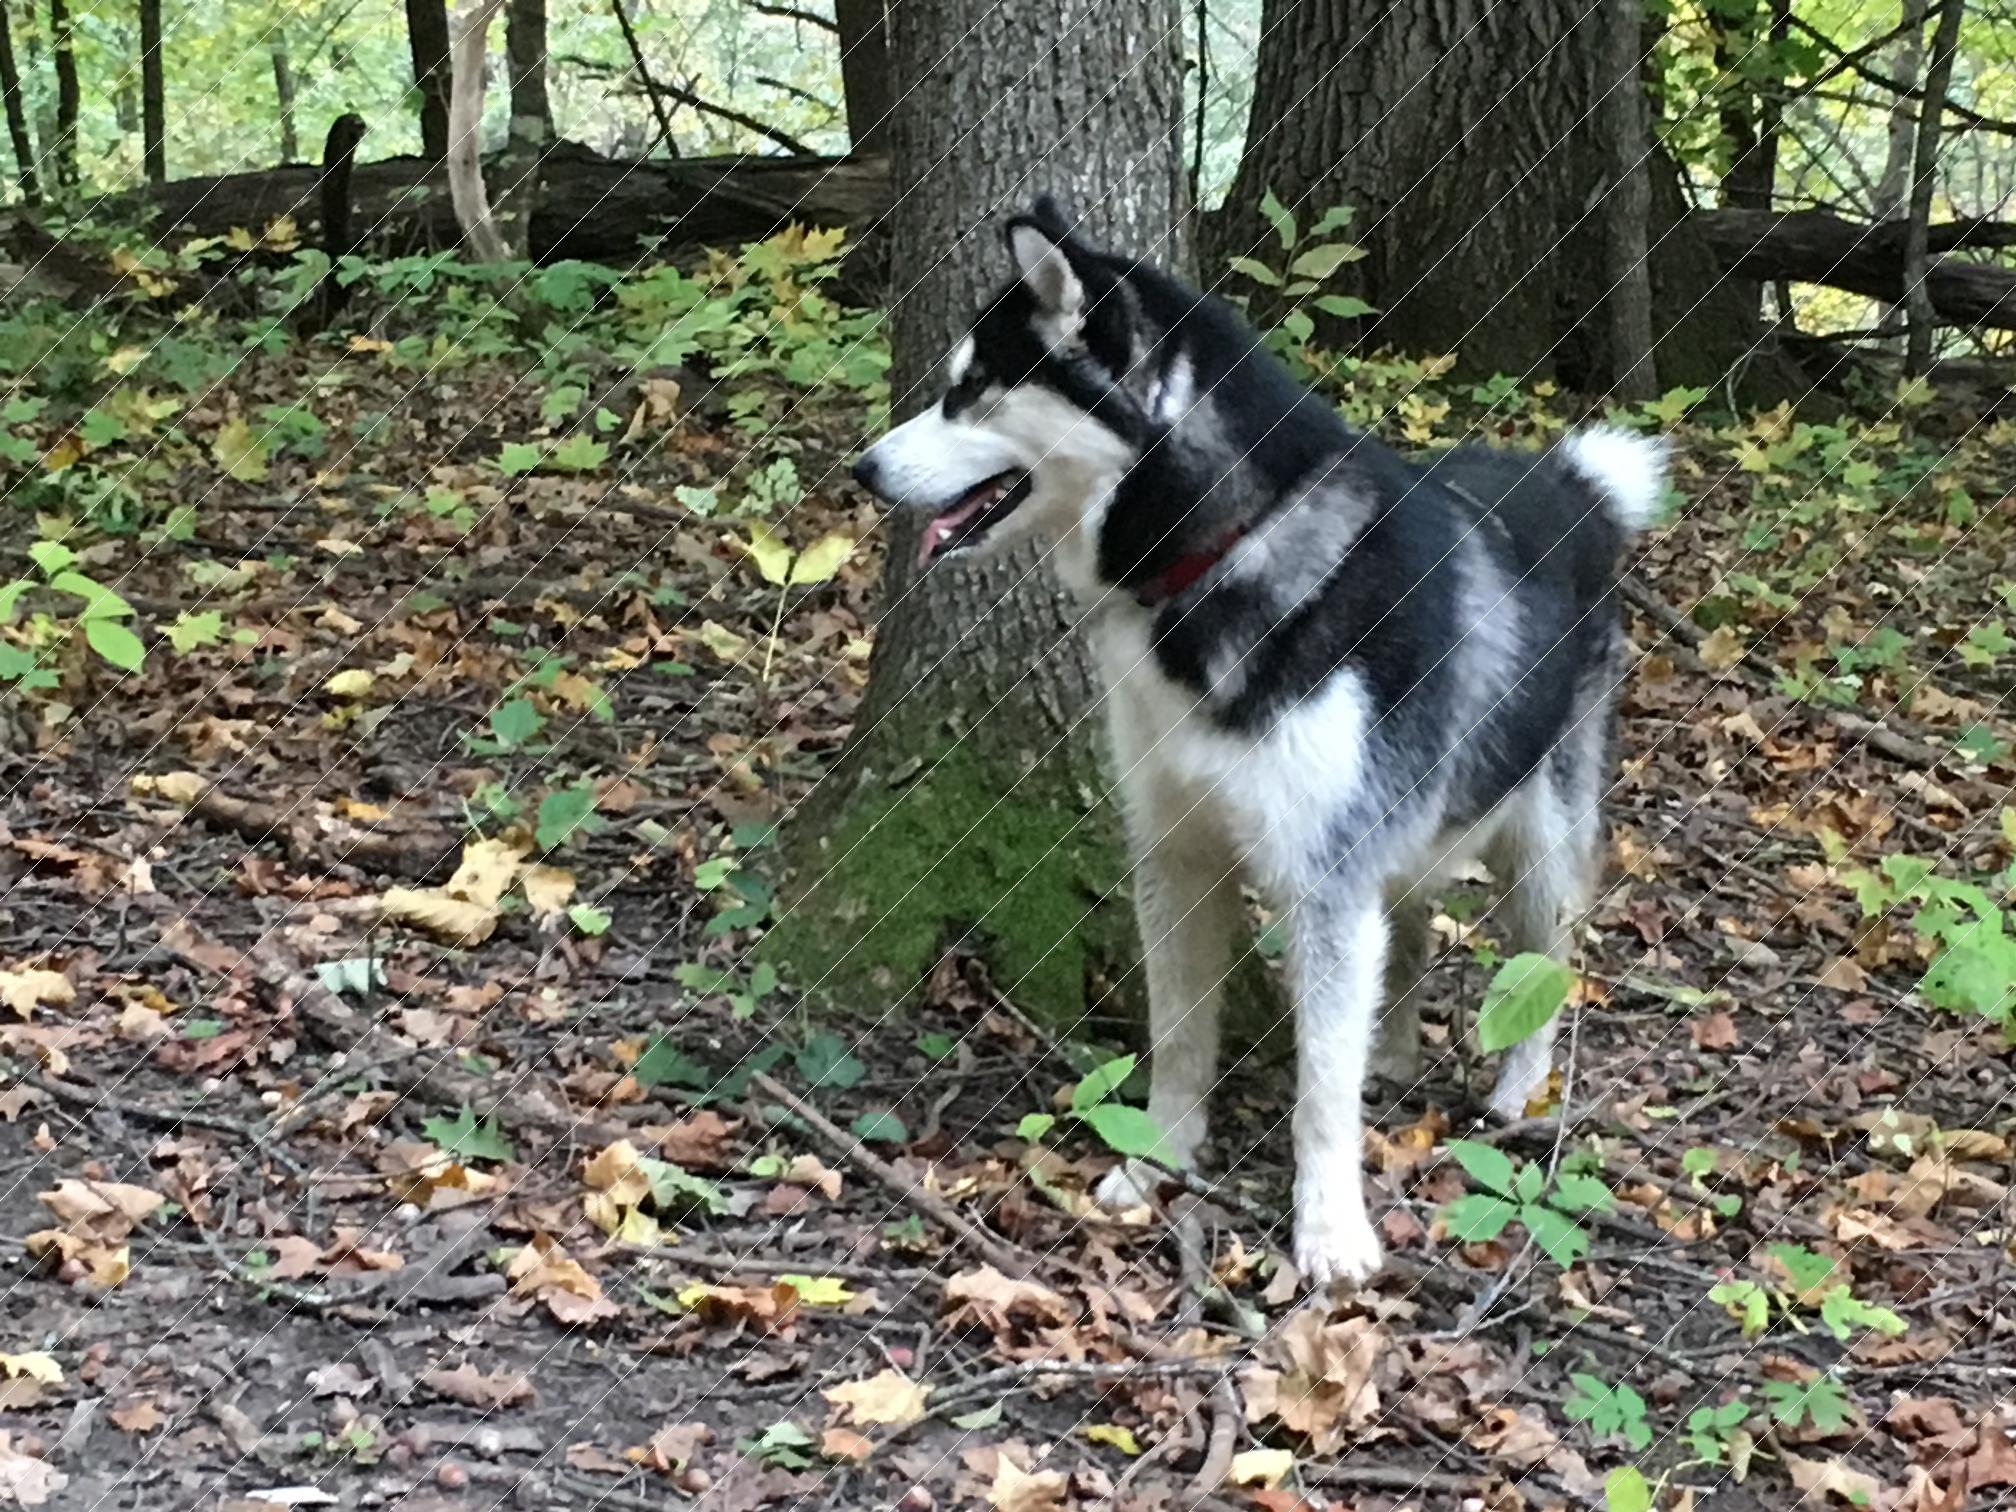
These functions applied to the picture of Maisie would result in the following images. (I called get_bordered_image with color (120, 40, 40) and border thickness 60.)


OPTIONAL functions
- get_tiled_image makes a checkboard version of the image, as described in the
comments in the code. For example, if you apply get_tiled_image to the 2016 × 1512 picture of Maisie with
a square_width of 500, you should get the image shown below. (Note that the bottom 12-pixel strip on the bottom
should be left unchanged, since 1512 is not evenly divisible by 500.)
- get_image_with_fake_scratches should create a copy of the image with some sort of
fake white scratches on it, similar to what is shown below. You'll use this scratched image as input to
get_median_filtered_image.
- get_median_filtered_image applies a median filter to the image to fix the
scratches from get_image_with_fake_scratches. See the comments in the code for details.

- get_green_screened_image takes the original image, a background image,
the "green-screen" color (which doesn't have to be green), and the radius around the green-screen color
to allow the green-screen color to vary somewhat with shadow, etc. and still be considered green-screen.
The result should be the original image, but with green-screen colors replaced by corresponding pixels
from the background image. (Note that this only works if the background image is at least as big
in both dimensions as the main image.) See the code for details, and the Minion below in two settings
for the kind of results you might expect.


A few extra thoughts
- My main() function assumes that your images are JPEG files, which is the format created by most smartphone cameras (at least in my experience). You can check the PIL documentation to learn how to deal with other image types, like PNG or GIF.
- Watch out for off-by-1 errors. For example, in creating a mirror image, it's very easy to accidentally try to access a pixel that doesn't exist—something like pixels[image_width, 0], which is just beyond the right side of the image and thus causes a crash. Sometimes when you have put together a formula for mirror-image or rotation or something like that, it's good to plug 0 into your formula to make sure you're not ending up with something >= the image's width or height. You can also imagine that your image is 2x2 (instead of something like 2000x1500), and then manually compute your formulas and see if they generate negative or too-big values.
- Test frequenctly, in between small changes to your code. If you try to write a lot of code at once and then start testing, you risk being stuck with multiple simultaneous errors, which are generally much harder to find and correct than single errors introduced in the last few minutes.
- The grader will test your code using an image file of his own choosing, so you should test your code on more than my example image.
Start early, ask questions, and have fun!