CS 111
Fall 2016
Introduction to Computer Science
HW10: Image processing
Due: Wednesday, 11/02 at 23:55
Prelude
In this class, we spent most of the time working with text. We also used Zelle's graphics library to draw some rudimentary shapes. This homework will introduce basics of image manipulation.
Just like when using the graphics library, we will think of an image as a two-dimensional array of picture elements called pixels, each having red, green, and blue values (each an integer between 0 and 255). (Images are usually not stored this way, since this would take up too much space. But let us not worry about that for now.)
There are a lot of things we can do with image processing. Some tasks are quite difficult (think facial recognition) but others are very easy. For example, turning a colour image into black-and-white (grayscale) is fairly simple: for each pixel, take the average of its red, green, and blue values, and use that average as the new red, green, and blue values for the pixel.
There is a nice image-manipulation library for Python known as Pillow. This library is installed on the Macs in our labs. If you want to use it on your own computer, you can follow these installation instructions. If you have trouble installing Pillow, you could also use x2go (you will need to log in to see the instructions).
For this assignment, you will implement the functions whose interfaces (parameters and return values) are specified in the skeleton file images.py. Do not change the interfaces in any way. We have discussed in class why interfaces should not be changed--so other programs relying on your functions can call them according to the interface specifications and expect the correct behaviour. When you hand in your program, please include the testing code, found at the bottom of images.py.
Every Pillow functionality you need for this assignment is already used at least once in the sample code in images.py. However, if you like, feel free to read the documentation, but you should NOT use any additional functionality.
The Skeleton File
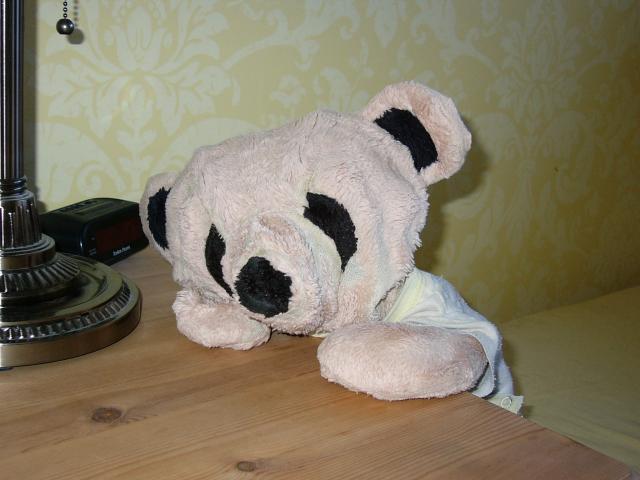
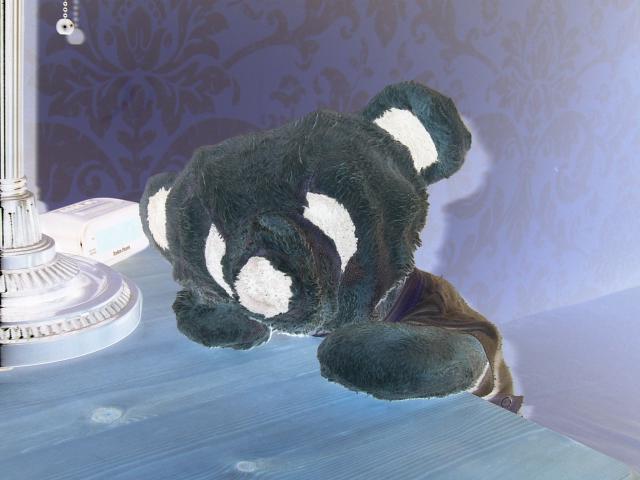
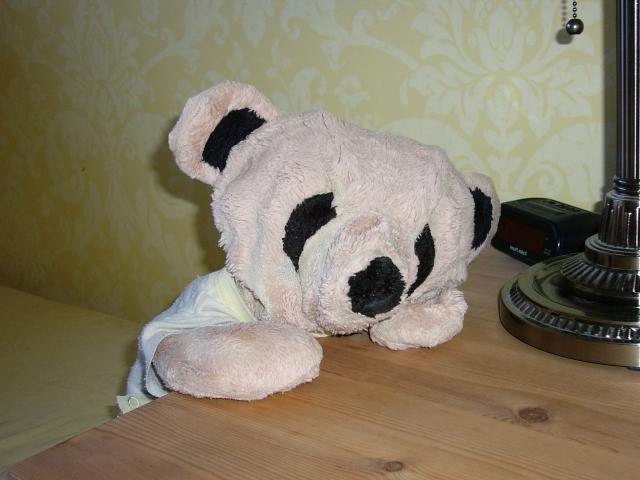
I will use this picture of a cute teddy bear as a running example. You should test your code on a variety of pictures.
The images.py skeleton file has two sample functions already written:
getRedImageshows how to make a copy of the image given (so we don't muck it up), load the pixels into a variable (so we can manipulate them), loop through all pixels, and set all the green and blue values to 0 (so only red parts remain).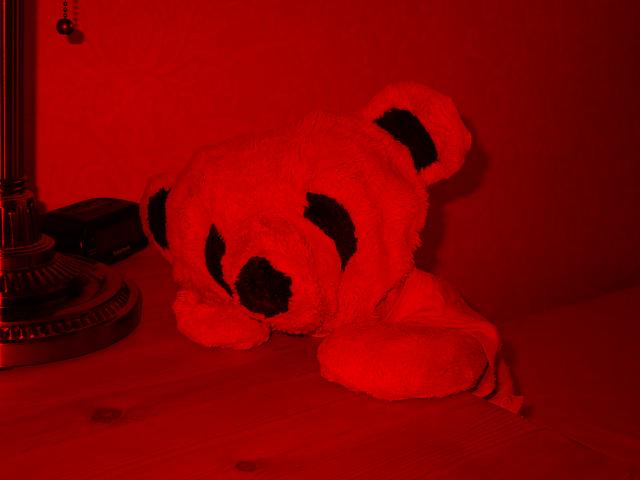
getSmallImageshows how to create a new image of a different size.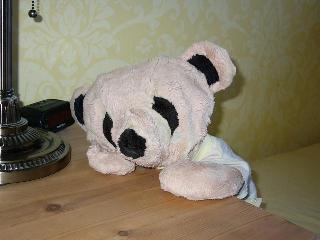
images.py and run
python3 images.py teddy.jpg.
You should see all three images appear on screen.
Basic Image Manipulations
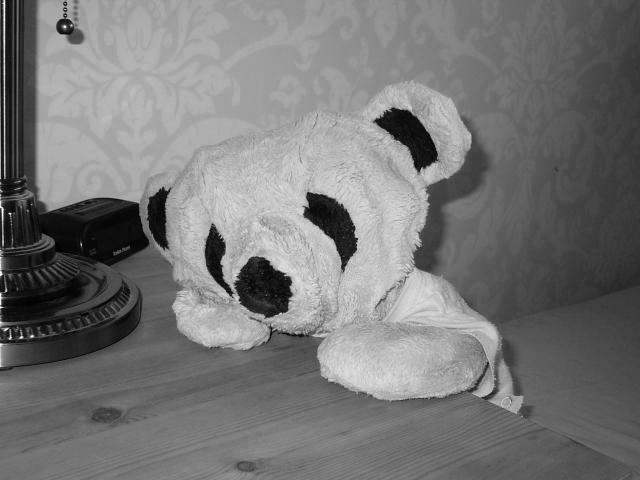
For each of the function below, create and return a new image that is a conversion of the given image in some way:getGrayImage(originalImage)Convert to black-and-white. A colour is a shade of gray if its red, green, and blue values are all equal.
getNegativeImage(originalImage)Convert to "negative" form (like a photographic negative). Here, you don't necessarily have to duplicate precisely the same technical visual effects that a photonegative actually uses. But you should modify all colours in a way that turns black into white, white into black, dark colours into light, light into dark, etc.
getMirrorImage(originalImage)Return the mirror image, doh. Why does a mirror swap left and right but not up and down?
getRotatedImage(originalImage)Rotate the image by 90 degrees (counter-clockwise). Your code should work on images that are not necessarily a square. As such, you would need to allocate a new image with width and height swapped. See
getSmallImagefor an idea of how to do that.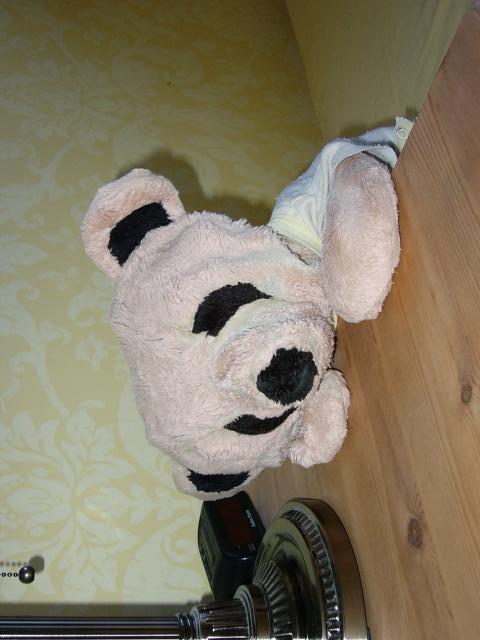
getScaledImage(originalImage, scaling)Scales your image. If
scalingis 2, for example, each side of your new image should be double the size of the original. Likewise, ifscalingis 0.25, each side of your new image should be 1/4 the size of the original. Ifscalingfactor is less than or equal to 0, do no image work at all and returnNone. Otherwise, return the new image.Hint, of sorts: You've got a choice to make. Do you loop over all the pixels in the old image, and figure out where they belong in the new images? Or do you loop over all the pixels in the new image (which are initially unassigned), and for each one figure out which is the right pixel in the old image to copy in? One of these approaches is much easier than the other. Definitely spend time in advance thinking about what kinds of calculations you would have to do for each of these approaches, and ask for help if you need it. It would be a shame to lose a whole lot of time programming up the "hard" approach to abandon it later.
Question: What if the new image is bigger than the original? Do I need to interpolate between pixels to calculate appropriate pixel values and so on?
Answer: No. Every pixel on the new image should just be a copy of some pixel on the old. The challenge is in figuring out which one. If the new image is smaller than the old, then some of the pixels on the original will be ignored. If the new image is larger than the old, than some of the pixels from the original will be duplicated.
Vacation Challenge
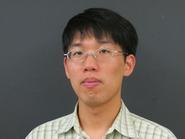
Movies, particularly action movies that use a lot of special effects, often use a technique called chroma key. With chroma key, the actors in a scene are filmed as they perform in front of a solid colour screen (perhaps green, or blue). Later on, after the scene has been filmed, the special effects people remove that colour from the scene and replace it with the actual scene: a dinosaur, the New York City skyline, outer space, etc.
In this section, you will be using the same technique to insert an image of me in front of a blackboard into a more pleasing background. (Feel free to use your own pictures.)
We can "combine" these images into a single image by replacing the "blackboard" pixels in a person picture with pixels from a scenery picture. To do this, we have to figure out which pixels correspond to the blackboard (and can be changed) and which ones correspond to the person (and should be left alone).
changeBlackboard(originalImage, red, green, blue)Returns a new image that replaces all "blackboard" pixels in the original image by the colour specified by the supplied red, green, and blue values. The trick here is to decide what it means for a pixel to be part of the "blackboard" (in terms of its RGB values).
vacationImage(originalImage, backgroundImage)Creates a new image that replaces all "blackboard" pixels in the original image with pixels taken from the background image. If your new image is the size of the original image, you may use only a portion of the background image. Alternatively, you can place the original image into the background image somewhere. You may assume that the background image is at least as big as the blackboard image.
Submission and Grading
Upload to Moodle your modified images.py.
Optional: upload an image of yourself in front of a blackboard and an image of your dream vacation spot.
For the "basic" portion of the assignment, we will use images unknown to you to test your code.
For the "vacation" portion of the assignment, given how difficult it is to identify "blackboard" pixels in general, we will use the exact image of me linked above or your images if supplied.
This is a somewhat long assignment. Start early! Ask questions. Have fun!